

 Aug 10, 2017
Understanding the anatomy of the pet’s ears makes the cleaning process and caring for them uncomplicated. Because of the twisted shape of the pet’s ears, it becomes easy for the bacteria and viruses to reside inside it. Cleaning shouldn’t start when your pooch or kitty gets infected by the pesky parasites but it should be a regular health maintenance process.
Although, certain signs and symptoms are visible that is an indication of ear infections in the pets. In these circumstances, it is required from you to be patient and gentle with their pet’s ears. Contacting a vet and asking for assistance is considerate.
Some of the signs that depict infectious ears are:
Ears are one of the most crucial and sensitive body organs that require regular purification. There are certain points one must remember while cleaning the pet’s ears:
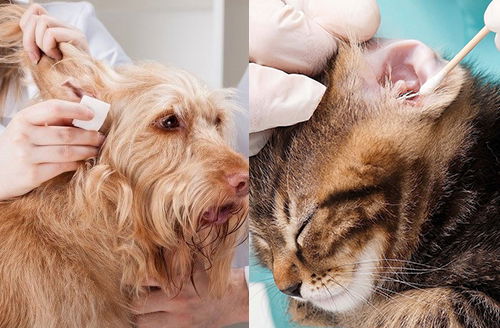
Here are a few instructions to follow for proper cleaning of pet’s ears.


